Busy Mom’s Guide to Spring Cleaning: A Step-by-Step Guide to Cleaning Your Living Room
Hey there! Are you a busy mom looking to tackle your spring cleaning? Need some spring cleaning tips and tricks to get you going and inspired?
I know it can be overwhelming, but I’m here to help. As the heart of your home, your living room is where you spend time with family and friends, relax, and entertain guests. It’s also the room that tends to accumulate the most dirt and debris. With daily use, it’s easy for dust, dirt, and other particles to build up on surfaces, upholstery, and floors. To keep your living room clean and healthy, it’s important to deep clean it regularly. Check out these spring cleaning tips and tricks for the living room.
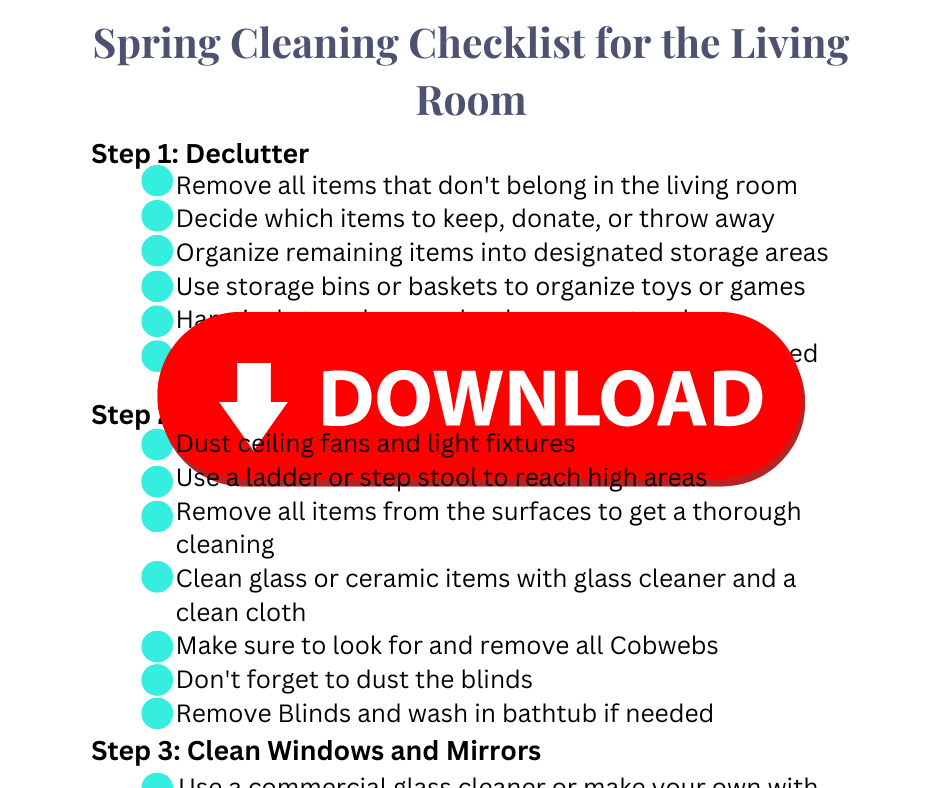
Step 1: Declutter
Before you start deep cleaning your living room, it’s essential to declutter the space. This means removing any items that don’t belong in the room, such as toys, books, and magazines. Once you’ve removed these items, put them away in their proper place or donate them if you no longer need them. Decluttering will make it easier for you to clean and give your living room a more organized appearance.
Step 2: Dust
Dusting is one of the most important steps in deep cleaning your living room. Dust accumulates on surfaces such as shelves, tables, and picture frames, and can trigger allergies or respiratory issues. To dust your living room effectively, use a microfiber cloth or a duster. Start from the top of the room and work your way down, dusting surfaces, light fixtures, and ceiling fans. Don’t forget to dust behind and under furniture as well.
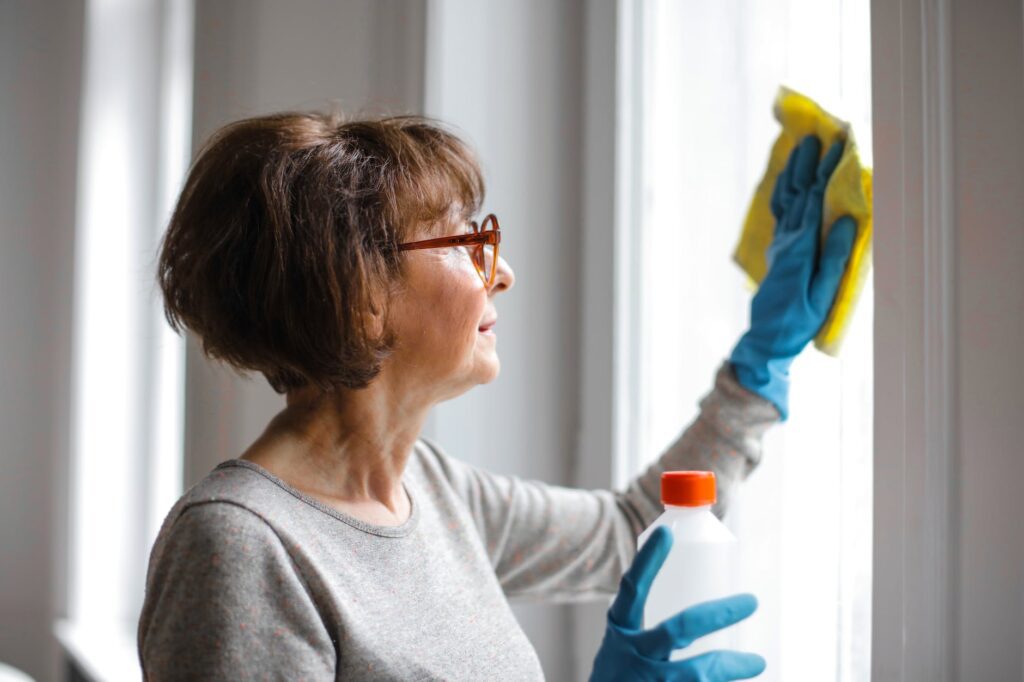
Step 3: Clean Windows and Mirrors
Windows and mirrors in your living room can accumulate dirt, dust, and smudges over time. To clean them, use a commercial glass cleaner or make your own with equal parts water and vinegar. Apply the cleaner to a microfiber cloth or paper towel and wipe the windows and mirrors in a circular motion. Use a dry cloth or paper towel to remove any streaks.
Step 4: Clean and Dust Electronics
Electronics, such as televisions and sound systems, can attract dust and dirt, which can affect their performance. To clean and dust your electronics, use a soft, dry cloth. Avoid using water or cleaning products, as they can damage your electronics.
Step 5: Clean Light Switches and Doorknobs
Light switches and doorknobs are frequently touched, which can make them a breeding ground for germs and bacteria. To clean them, use a disinfectant wipe or a cloth soaked in a disinfectant solution. Wipe the light switches and doorknobs thoroughly, including the surrounding area.
Step 6: Deep Clean Upholstery
Upholstered furniture, such as sofas and chairs, can accumulate dust, dirt, and stains over time. To deep clean your upholstery, start by vacuuming it using the upholstery attachment. Use the crevice tool attachment to clean hard-to-reach spots, such as between cushions. Spot clean any stains or spills beforehand using a commercial stain remover or make your own with equal parts vinegar and water. Apply the stain remover to the affected area and let it sit for a few minutes. Blot the area with a clean cloth to remove the stain. Use a fabric cleaner to deep clean the upholstery. Apply the cleaner to the upholstery with a clean cloth or sponge. Use a damp cloth to remove the cleaner and any dirt or debris. Allow the upholstery to dry completely before using.
Step 7: Clean Hard Floors
Sweep or vacuum hard floors to remove any loose dirt or debris. Use a broom or handheld vacuum to remove larger debris. Then, use a dustpan or handheld vacuum to collect the debris. Use a mop or steam cleaner to deep clean hard floors. Use a commercial floor cleaner or make your own with equal parts water and mild detergent. Apply the cleaner to the floor and mop it in a back-and-forth motion. Rinse the mop frequently and change the water as needed. If using a steam cleaner, fill it with water and follow the manufacturer’s instructions to clean the floor. Make sure to let the floor dry completely before walking on it.
Step 8: Vacuum Carpets and Rugs
Vacuuming carpets and rugs regularly is essential to remove dirt, dust, and allergens. Use a vacuum cleaner with a HEPA filter to effectively capture small particles. Then, use the crevice tool attachment to clean along baseboards and edges. Use the upholstery attachment to clean upholstery or curtains. For deep cleaning carpets and rugs, use a commercial carpet cleaner or rent a carpet cleaner from a hardware store. Apply the cleaner to the carpet or rug and follow the manufacturer’s instructions for deep cleaning. Allow the carpet or rug to dry completely before walking on it.
Step 9: Clean Decorative Items
Decorative items, such as vases, figurines, and picture frames, can collect dust over time. To clean them, use a soft, dry cloth or a duster. For fragile items, use a paintbrush or makeup brush to gently remove dust.
Step 10: Freshen Up the Air
To give your living room a fresh and clean scent, consider using natural air fresheners, such as essential oils, candles, or potpourri. Open windows and doors to let fresh air circulate throughout the room. You can also use an air purifier to remove allergens and pollutants from the air.
By deep cleaning your living room regularly, you’ll not only improve the appearance of your home but also create a healthier environment for you and your family to enjoy. Come back each Monday and Thursday for the next 3 weeks for more spring cleaning tips and tricks in this series. Download my Checklist to help you deep clean your living room this year.